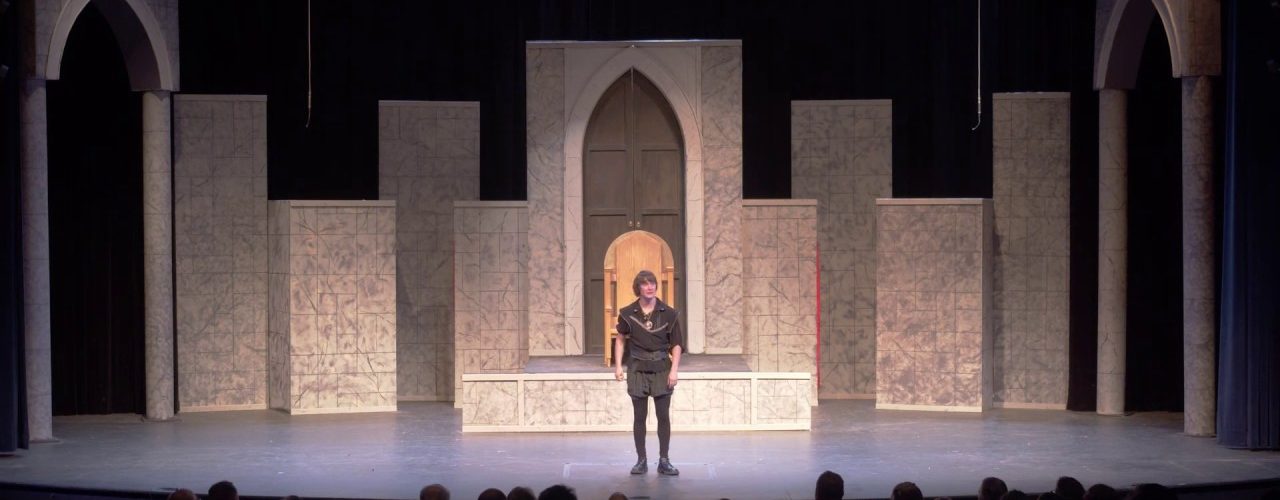
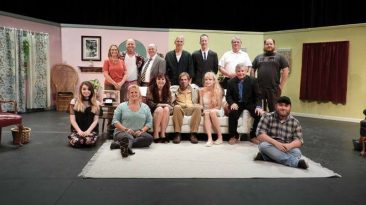
I’m not very knowledgeable of the OG of theater: William Shakespeare. The local theater group, MAP, was putting on a production of Hamlet, so I wanted to take my wife and go see it.
I also offered to record the production on my BMPCC4k and provide it to the cast and crew. The director even gave my wife and I tickets as a thank you. I went on a Saturday to record it and then went again with my wife on Sunday to enjoy it.
The play was amazing and some of the performances were just spectacular. Also, there was a sword fight! I’m glad I was able to watch this production of Hamlet. Below is what I learned from the technical aspects of offering to help.
Editing time
3 hour play = lots of watch time in the editor. Not just dealing with the visuals, but the audio. Then exporting and ensuring nothing is wrong. Luckily the front and end bumpers weren’t too difficult. With such a long play, it took my machine about 3 hrs to export, 5 hours to upload to YouTube on my internet, and then YouTube even more time to process. I realized after all that, that I had misspelled Shakespeare’s name on the title. Oops… time to fix in editor and redo all that exporting and uploading. Delay of a whole day.
Lights and correcting color / white balance
Plays alternate between SUPER bright lights and low lit scenes with no chance to adjust the camera. I would make a cut in the recording at each of these changes so I could adjust the white balance in each scene. I would sometimes add fade in/outs to hide this. I’m not thrilled with my results, but the play is visible. So.. you know, #missionaccomplished.
I shot the video in 4k and made the timeline in the editor 1080. I was thinking I would actually zoom in and move around the view as a person’s eye would when watching. That way, we could see the performances up close. However, it’s holiday season and time is precious. And I ran out of it. So I left it the original “point camera at stage and show it all”. I figure the actors can watch this on their big TVs and see the performances.
Audio
Audio… SOOOO much time learning audio. The stage was mic’d, but I ended up not being able to utilize those. I had an Zoom H2n mic pointed at the stage the whole play. That became my audio. The BMPCC4k has OK mic’s, but not from that far away. Actors would often be speaking softly away from the mic or have their heads pointed directly at the mic while yelling.
At first I followed tutorials online about handling spikes in audio. I spent hours scanning through hours of audio. I raised the level up for all, then manually adjusted everywhere there was a peak. After some time, this felt wrong and I tried to find other tutorials.
Finally I learned how to add a limiter to the whole audio track to handle the spikes that went to high. And then I raise the level of all the audio so things could be heard.
Just like the color correcting and white balance adjustments… I wasn’t happy with the results, but I could hear the performances.
Storage Space
I simply don’t have the storage space to keep the originals around for long. I will have to delete the files before my next project. I believe the video and audio files worked out to be about 312GB. That’s just too much to keep around after a project like this. So I offered to the cast/crew if they want a copy, they can reach out to me. I’ll keep the final rendered version around as a just in case, though.
Would I do again?
Maybe. Now that I know how to add an audio limiter and have been through the process once… it’s possible I could do it again much quicker. But it’s still devoting a good chunk of a day to do. And big chunks of days are hard to come by.
I’m glad I did this recording, though. The play was great, the actors were great, and I learned a bit about my equipment and editing software.


